
Reseller guides
How to Take Good eBay Photos With Your Phone: Light, Backdrop, Angles and Flaws
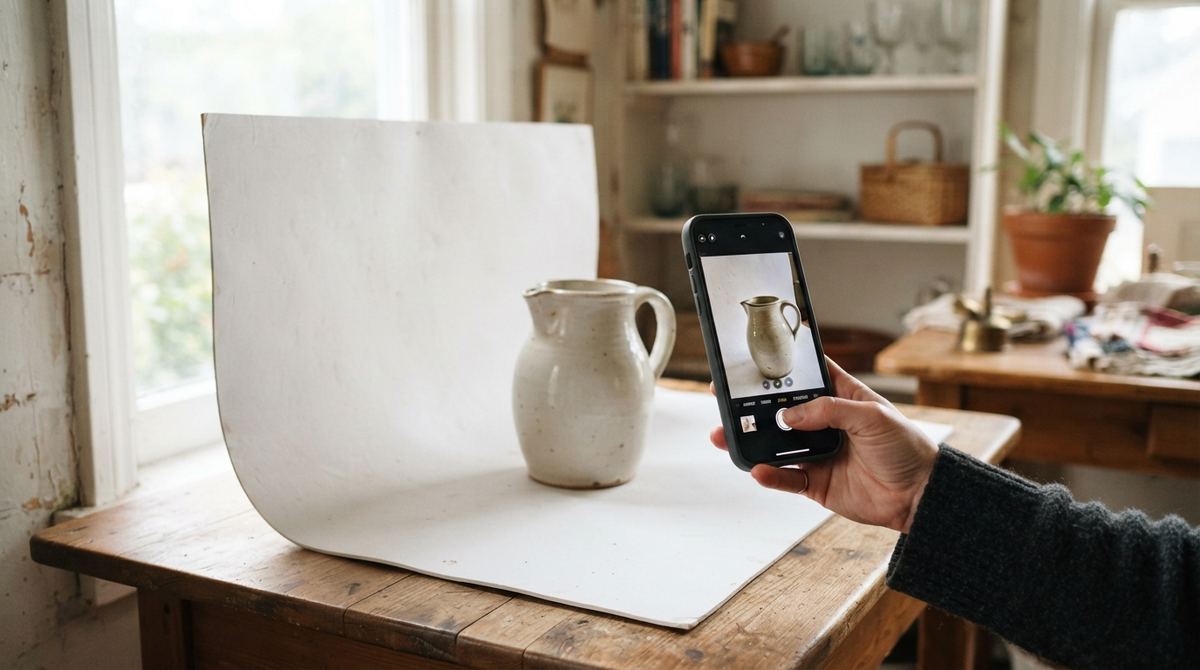
Buyers can’t pick your item up, turn it over or rub the spot on the rim. Your photos do that for them. The good news: you don’t need a camera, a lightbox or a studio to take good eBay photos. A phone, a window and a $2 sheet of poster board get you most of the way. Here’s the simple setup, the angles buyers look for, and how to show flaws so they buy with confidence instead of sending it back.
eBay’s photo rules in one minute
eBay’s picture policy is short, and a few points matter for everyday resellers:
- At least one photo, at least 500 pixels on the longest side. Any phone from the last decade clears that easily. eBay suggests about 1600 pixels so buyers can zoom in.
- Up to 24 photos per listing. They don’t cost extra, so use them.
- No added borders, text or watermarks. Not even your store name. Keep the photo just the item.
- Used items need your own photos. Stock or catalog pictures aren’t allowed for used, damaged or defective items, and photos must show the item as it really is.
Light: a window beats a flash
Most bad eBay photos are lighting problems: yellow lamp light, harsh shadows, or a flash glaring off the item. The fix is free.
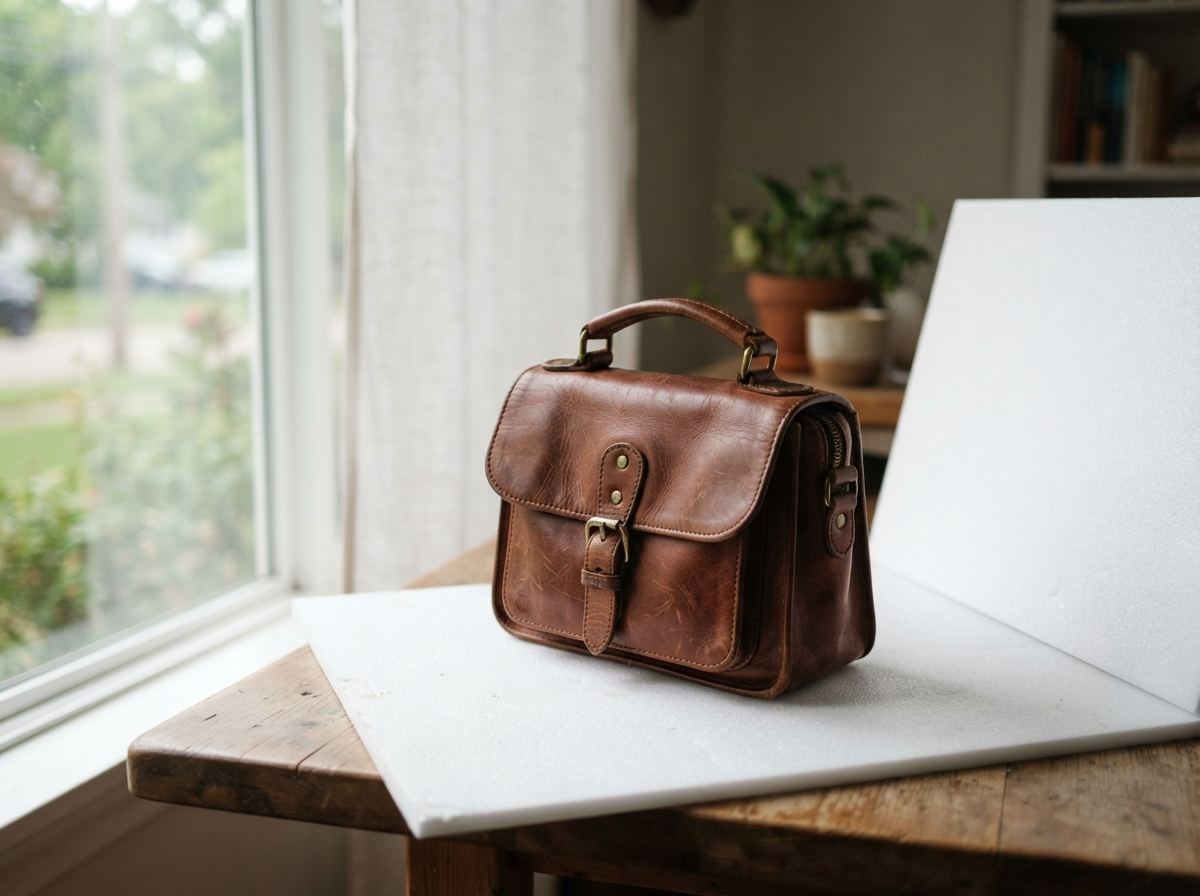
- Shoot by a window in daytime. Bright but not direct sun. A north-facing window or a cloudy day is perfect.
- Turn off the flash and the room lights. Mixing daylight with warm bulbs gives photos an orange cast. eBay itself suggests avoiding flash and overhead lights to cut glare.
- Soften hard sun. A thin white curtain, a shower curtain liner or parchment paper taped over the window spreads the light.
- Bounce light into the shadows. A piece of white foam board or poster board on the side away from the window fills in dark shadows. This is the single biggest “how do they make it look so professional” trick.
No good window, or listing after dark? Two inexpensive daylight-colored LED lamps, one on each side, work well. Avoid mixing them with other bulbs.
A backdrop for a couple of dollars
A plain background makes the item stand out in search results and keeps buyers from wondering what else is in the picture.
- White poster board, curved. Lean one end against the wall and let it curve down onto the table. The curve hides the corner, so there’s no line behind the item. This is a sweep, and it’s what most home sellers use.
- White isn’t required. eBay says white usually works best, but light gray, cream or a darker board can suit jewelry and shiny pieces better. Pick one and keep it, so your listings look like a store.
- Bigger items: a plain wall and a clean floor, or a white sheet hung from a shelf. For furniture, a tidy room with nothing else in the frame is fine.
- Clothing: a plain door, a mannequin, or a flat lay on a clean light floor or bedsheet.
The eBay app and listing tool can also swap a background for plain white with one tap. It helps, but a real clean backdrop still looks better and keeps edges and colors true, which matters when buyers judge condition.
Phone settings that help
- Wipe the lens. A pocket smudge makes everything look hazy. Do it every session.
- Use the main (1x) camera and step back a little, or zoom to 2x if your phone has it. Very close wide-angle shots stretch the item’s shape.
- Tap to focus on the item, then slide the brightness down a touch if the white backdrop is washing it out.
- Hold still. Brace your elbows on the table, or use a cheap phone tripod and the camera’s timer.
- Turn on the grid in your camera settings to keep edges straight.
- Skip portrait mode and heavy filters. Blurred edges and boosted colors can misrepresent the item. Small crops and brightness fixes are fine.
- Square or close to it. Search results and the eBay app show photos close to square, so leave a little room around the item.
The angles buyers want
The first photo is your storefront: the whole item, straight on, filling most of the frame. Then walk around it the way a buyer would at a yard sale. A good set for most items:
- Main photo: the whole item, front and centered.
- Back and sides.
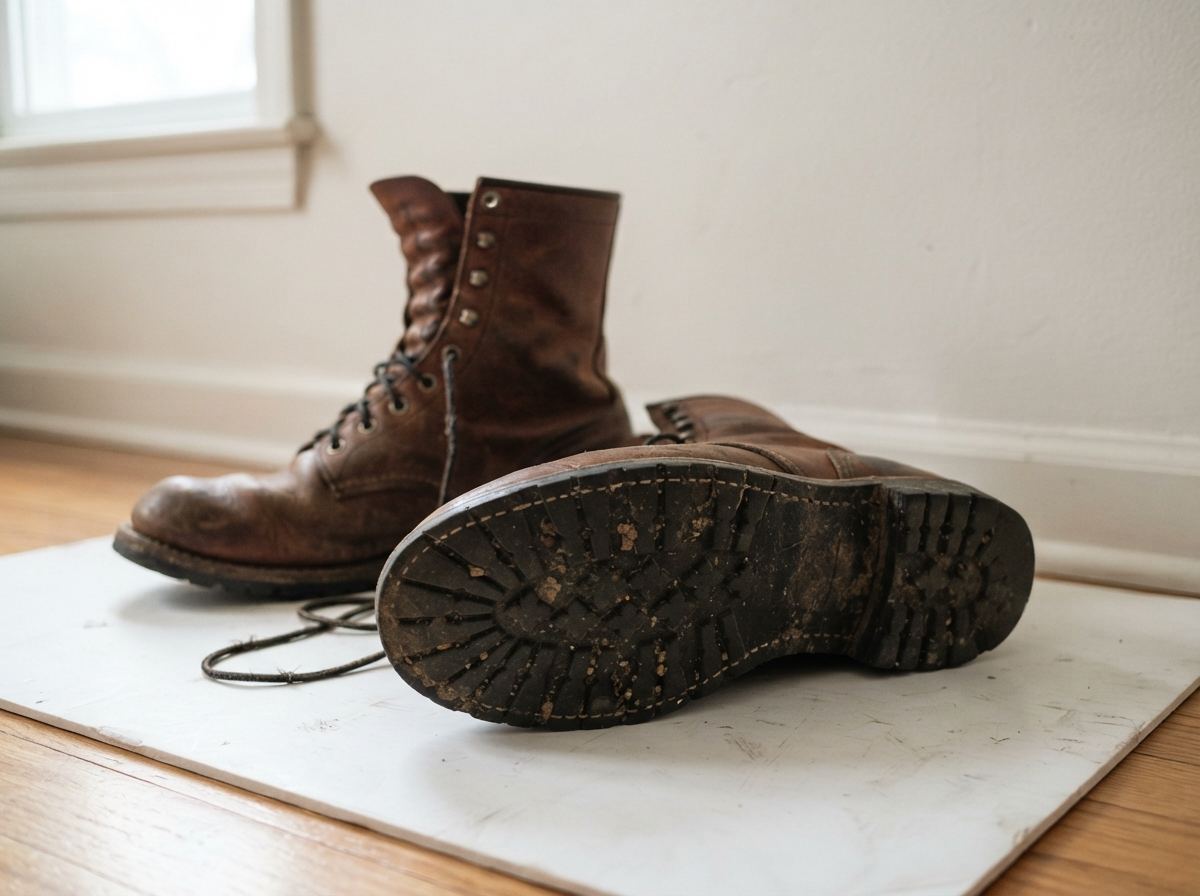
- Top and bottom, including the base, sole or underside.
- Labels and marks: brand tag, size tag, maker’s mark, model number, pattern name on the back of a plate.
- Details that sell it: hardware, stitching, the inside of a bag, pockets, the working screen of a gadget.
- Size reference when size is hard to judge: a ruler or tape measure beside it (eBay suggests a coin or ruler).
- Everything included: for a set or lot, one photo with every piece, so buyers can count them.
- Every flaw (next section).
You don’t need all 24 slots, but 8 to 12 photos covers most items. Collectibles, electronics and anything pricey deserve more.
Showing flaws honestly
It’s tempting to hide the chip or the stain. Don’t. A flaw a buyer discovers at home becomes a “not as described” return, and those can cost you the shipping both ways. A flaw shown up front becomes part of the price, and buyers trust the rest of your photos more.
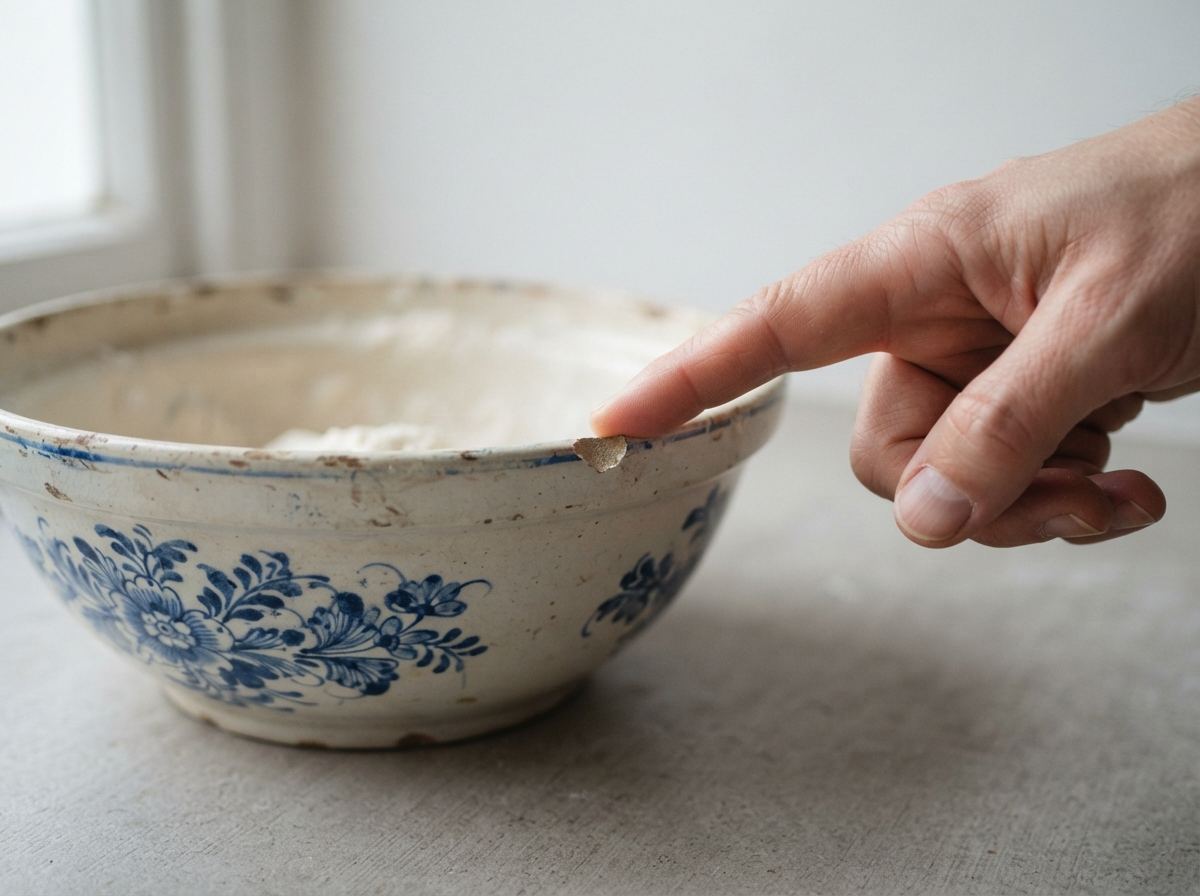
- Close-up of each flaw, in focus, in good light. eBay asks for clear close-ups of any damage.
- One wider shot that shows where it is (a fingertip pointing at it works well).
- Mention each one in the description too, and pick the condition honestly.
- Check under raking light: hold the light low across the surface to reveal scratches and dents you might miss, then photograph them that way.
Tip: clean the item before you photograph it, but don’t clean away the truth. Dust and lint photograph as flaws; real wear should stay visible.
Shiny, see-through and clothing items
- Glass, chrome and glossy pieces: reflections are the problem. Turn the item a little until the window’s reflection slides off, surround it with white boards, and avoid flash. A darker backdrop can help.
- Clear glass: a white backdrop with light coming from behind or below makes edges and colors show up.
- Jewelry: get close with good light, use a dark or neutral background, and add one photo on a hand or a bust for size.
- Clothing: steam or smooth it, button it, show the front, back, tags (brand, size, materials), and a measurement photo with a tape across the chest and the length.
- Electronics: a photo of it powered on shows it works; include cords, remotes and the model label.
Photograph in batches
Setting up the backdrop takes longer than taking the photos, so do several items at once. Many resellers clean on one day and photograph 10 or 20 items in one session, then list from the photos later. Keep each item’s photos together (shoot a card with its SKU or bin first, or just keep them in order) so you never mix up which bowl had the chip. Our guide to how many items to list a day lays out a weekly rhythm with a photo day built in, and How to create SKUs for eBay explains the numbers that keep each find straight.
Good photos also help your price hold up. Once they’re done, our guide on how to price items to sell on eBay walks through sold comps, condition and shipping.
Quick answers
How many photos should an eBay listing have?
eBay allows up to 24 at no extra cost. For most items, 8 to 12 cover the front, back, sides, bottom, labels, details and every flaw. Use more for valuable or detailed items.
Do eBay photos need a white background?
No. eBay says white generally works best, but any plain, uncluttered background is fine, and darker backgrounds can suit jewelry and shiny items. What’s not allowed is added borders, text or watermarks.
How do I take eBay pictures without glare or shadows?
Turn off the flash and overhead lights, use soft daylight from a window (with a thin curtain if the sun is direct), and put a white board on the opposite side to fill in shadows. For shiny items, turn the item slightly until the reflection moves off it.
What size should eBay photos be?
At least 500 pixels on the longest side; eBay recommends about 1600 pixels. Photos straight from a phone are much bigger than that, so don’t shrink them first. See eBay’s adding pictures help page for details.
Can I use stock photos for used items?
No. For used, damaged or defective items, eBay requires photos of the actual item.
How ReNventory helps
- A “Photos” to-do list. Mark a cleaned item Needs work › Photos and it gets a ⚠ in your lists; the Needs work filter shows everything still waiting, and Listing mode skips it until it’s ready.
- Listing mode. Inventory › Listing mode walks through the items ready to list, one at a time, with the photo, title, SKU, bin and notes. List on eBay copies the title and opens eBay, with the SKU one tap away for the Custom label.
- Renny, what is this? Snap a clean photo and Renny suggests an eBay-style title, a category and details it can see, flaws included. You check them before saving.
- Your best photo, everywhere. Once the eBay sync links a listing by its SKU, the item shows eBay’s listing photo on your phone and the website. Your intake photo is kept as the record of what you bought.